[Packaging]
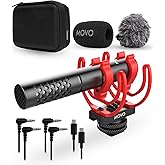
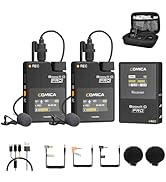
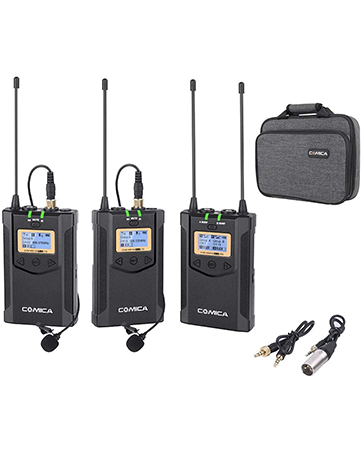
You get everything you need in the box and I'm very happy with all the included accessories. I've owned a micro shotgun mic by Comica before and the situation was the same there. They tend to pack their microphones with a lot of handy accessories in sturdy packaging. It doesn't feel like a budget unboxing experience at all. View my video for the full unboxing of this product.
[Carry case]
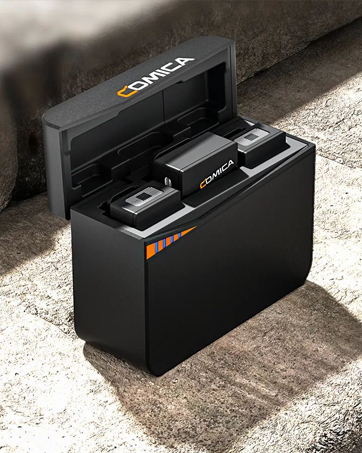
The carry case is great and feels very sturdy. I have full confidence in the quality of the carry case and I've already packed and travelled with the microphone to find that everything inside was still prestine. I like the colour combo of black and orange. So overall it looks very smart and feels good in the hands. I can't stress enough how important a carry case is to me. I like keeping my gear protected and the fact that it's included with this package is a great bit of added value. A case like this would usually cost £10 - £20 if purchased separately.
[Accessories and wires]
It comes with a deadcat and windshield inside the box, and although the size of the windshield was at first a concern for me, when I mounted the microphone on to my Sony ZV-1 (a compact camera) I really appreciated that the microphone didn't look too oversized. If you're planning to use this microphone outdoors it would probably draw less eyes as a massive microphone does tend to grab attention. To be clear, the microphone isn't smaller than my RODE, but the smaller windshield gives it a sleeker more compact look.
The TRS and TRRS cables included need to stretch a bit to be plugged into my camera, as the coldshoe on my camera is on the top left, whilst the microphone jack is on the far right side. It does fit, but keep this in mind if you have a larger camera. If your coldshoe is in the middle of your camera or if it's close to your audio jack you will be fine.
[Rycote shock mount]
The shock mount feels a little more plastic and lighter than the Rycote Lyre on my other microphone, but it works well and keeps the overall weight of my setup lower.
Something very important to keep in mind is that the mount is not adjustable. You can't slide it further or closer to you, so if you like to use your viewfinder whilst shooting it will bump in your forehead. My camera doesn't have a viewfinder so this is not an issue for me but keep in mind that you'll mostly be using your camera screen with this mic.
The fact that it can't slide backwards could also mean that it will appear in the frame of some cameras or lenses. I can't say for sure as this did not happen to me with my ZV-1. Again, something to keep in mind.
[Microphone]
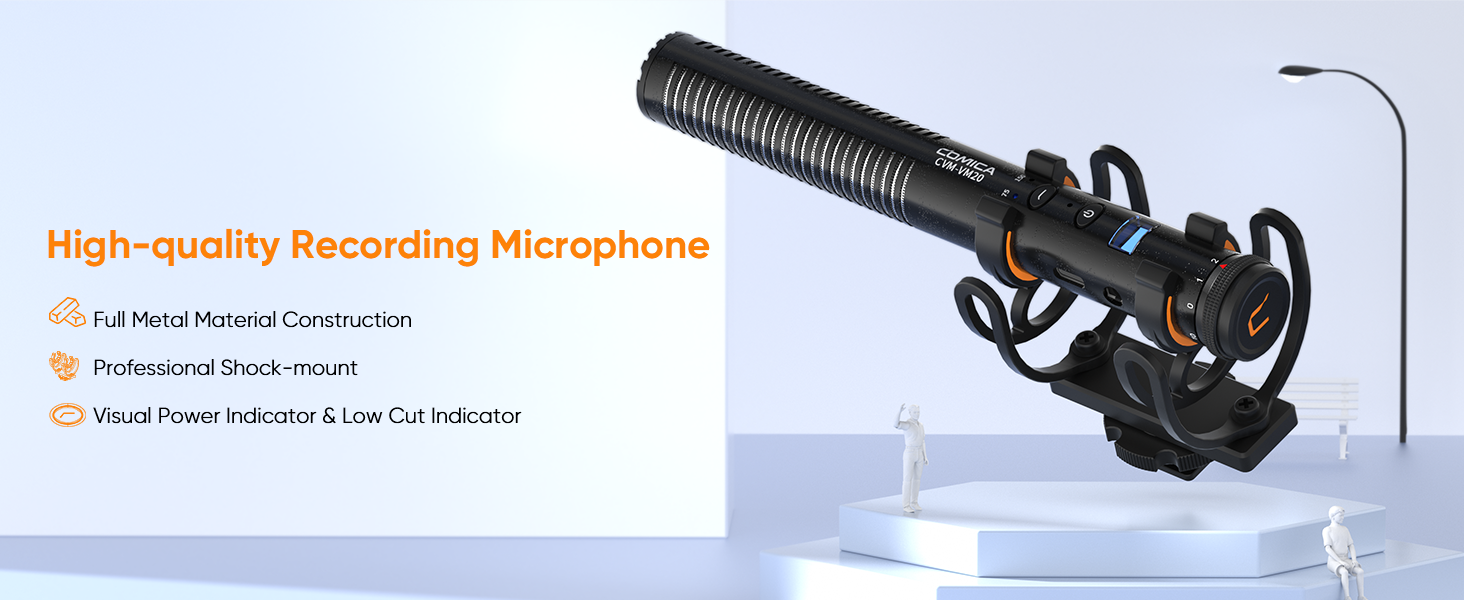
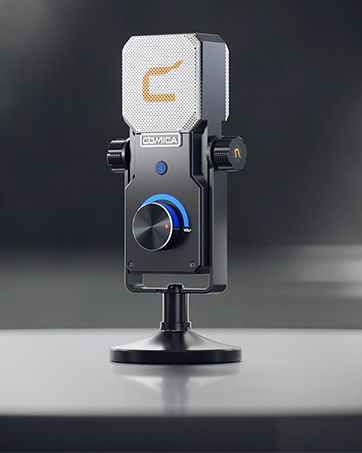
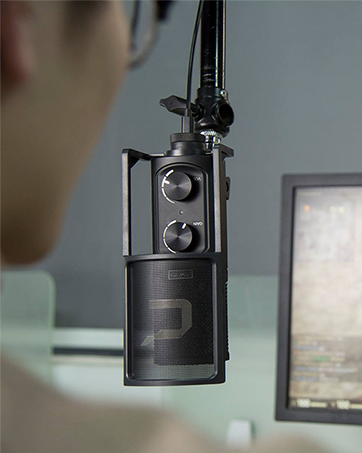
Bells and whistles aside, how is the actual microphone? For what it intends to do, I'm very impressed with it! Quality wise it's amazing. The body is a full metal construction so it feels solid and sturdy, and has a camera grain/splash effect on it that shines and catches the light. This will come down to taste, but I personally don't think it's an eyesore. Most people will probably be used to the effect as they would have seen it on Sony cameras for example.
The buttons might be made of a thick plastic. They're clicky and tactile with good feedback, so you'll always know when you've pressed them. They're a good size so if you have big hands you won't have problems pressing them. The OLED screen also has a casing that feels like thick plastic. The screen only comes on momentarily to show you the battery level and you can press the power button again whenever you need to check the battery levels later. Otherwise a permanent blue light lets you know the camera is on. It doesn't turn on and off automatically so you have to hold the power button for 2 secs to power it up and down. You can also use the mic whilst it's charging, but presumably this will only be useful if you're stationary at your desk or you've set up with a tripod.
The gain knob on the bottom helps to set your volume levels from 0 - 10. The setup is a bit strange as the numbers go all the way around the microphone, so you have to follow the indicator around to make sure you have it in your favorite spot if you have one. Otherwise, you can leave it on the same setting and adjust your camera instead.
There is another button that activates the -75db and -150db low-cut. You would want to have the -75db low cut on most of the time for spoken word stuff as this is designed to cut out frequencies that are below -75db which are low hums and other ambient noises you won't need in your recording. -150db will effect the bass of your voice somewhat so use this if you know what you're doing.
USB and output sockets are all easy to access.
So now for the important part, how does it actually sound? I shot a few tester videos indoors and I couldn't tell much difference between the sound on this mic and my RODE Videomic NTG, which costs twice the price at £220 or so. I'm sure someone out there can hear the tiny nuances and differences in the sound but I can't. But I can tell you that if you want good, crisp and clear spoken audio then this will produce that for you. I'll put it through its paces some more and will edit this review if I come up with any more thoughts or issues, but for now I'm very happy with how this sounds.
To set up, I put the gain on the microphone to max at 10, and then gradually increased the audio level on my camera till the volumes reached around -12db on my camera. This produced audio that I was very pleased with.
[How does it compare to the RODE Videomic NTG?]
I mentioned my other mic earlier in this review, which costs twice as much. I feel like this mic is supposed to be a direct competitor to the RODE Videomic NTG, which in my opinion is the pinnacle of shotgun mics in this range. So what are the differences at double the price?
1. RODE mic auto detects a TRS/TRRS connection, so only one cable is required with the RODE as it does both inputs.
2. RODE can auto detect a power source so whenever you turn on your camera, your mic is also powered on if it's plugged in. With the Comica VM20, you have to remember to turn on the mic if you want the audio from it.
3. Thus far, I've not been able to get Windows 10 to detect the Comica VM20. I think this will be possible via a USB DAC (like the Soundblaster X G6) though I haven't tried this yet. I'll update this review when I find out. The RODE Videomic NTG on the otherhand is a plug and play mic so if you need to do voice overs in your post edit, it makes this very easy. Comica VM20 is not as versatile.
4. RODE has more features. As well as the low-cut filter modes, it also has an option to record a safe channel that you can edit into your cut just in case your main channel is too loud.
5. The package and overall value from Comica VM20 is better. You get a case and deadcat with it. The deadcat for RODE mic costs an additional £40.
Overall, the value proposition from the Comica VM20 is unbeatable. If you're looking for a mic to mount on top of your camera for excellent audio and fundamental features, this mic will fit the bill. For twice the price you can get the RODE which has a few more features, but whether or not you will need those is your call. Also, with the RODE mic you get less in the box (the lack of a travel case hurts). The only additional feature I use on the more expensive mic is the PC connection option for voice overs.
For the price, package, and what this mic offers, it's an easy 5 star. If you end up going further in your creative journey you might upgrade at some point, but if not, this could easily be all you need for your vlogs.


